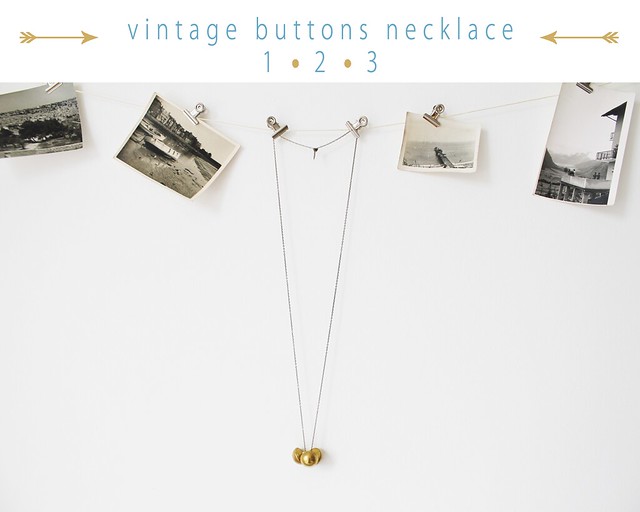
{diy} vintage brass buttons = new necklace
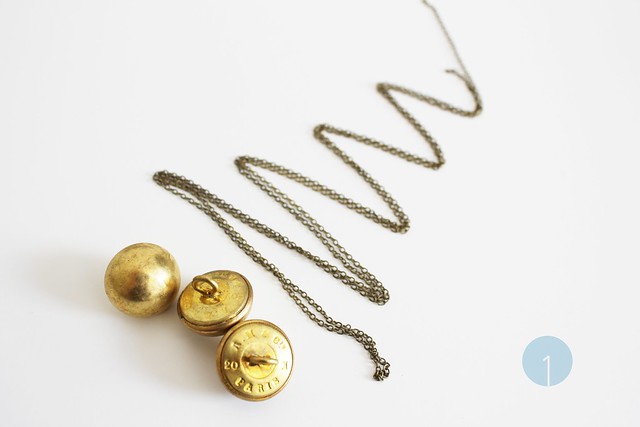
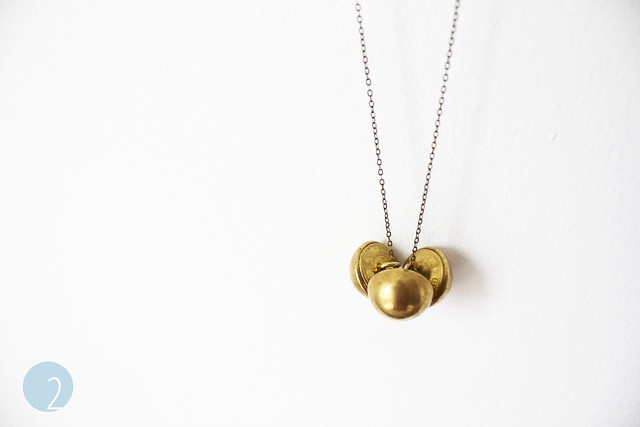
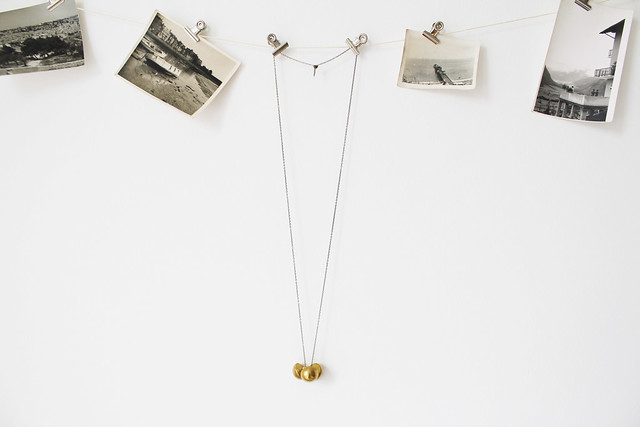
Remember the vintage buttons I found at the Sunbury Antiques Market? Well, I finally made the simple necklace I had envisioned and it's already one of my favorite go-to's.
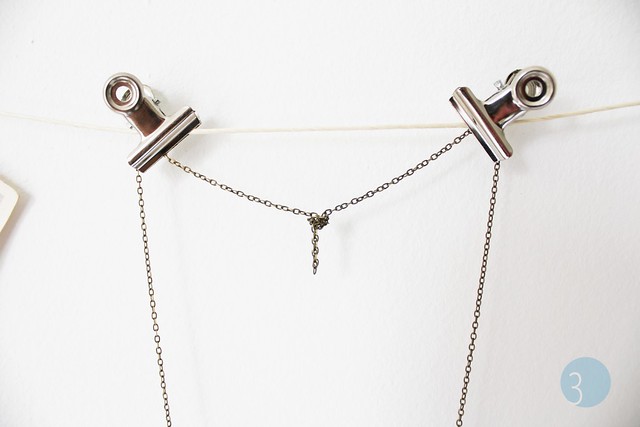
The great thing about making long length necklaces is that you can simply tie the chain in a knot and not deal with clasps and jump rings (the little round connector pieces). This was such a quick and easy DIY, I'll definitely be shopping for more vintage buttons!
{diy} customized camera strap - in a flash!
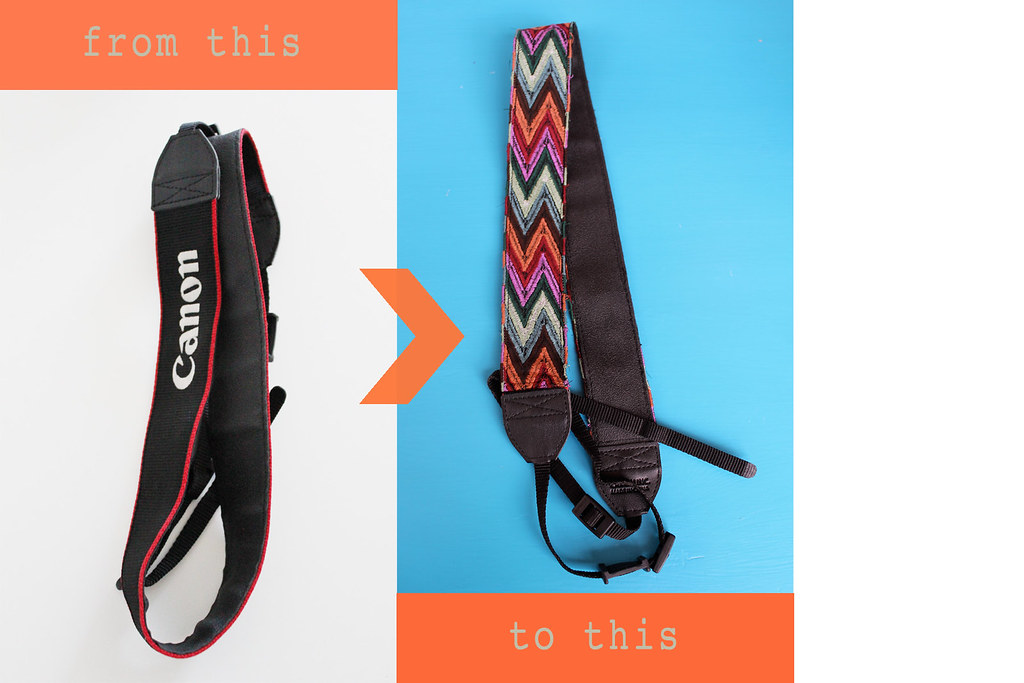
I bought this camera strap online but was not happy with it once it arrived. It was too wide and slippery for me and I missed the grip of the original Canon strap.
So, noticing that the "Canon" ribbon was simply sewn on, I decided to take it off and stitch on my own trimming. It was very simple to do. I think I spent more time deciding on the trimming pattern than actually putting it all together!
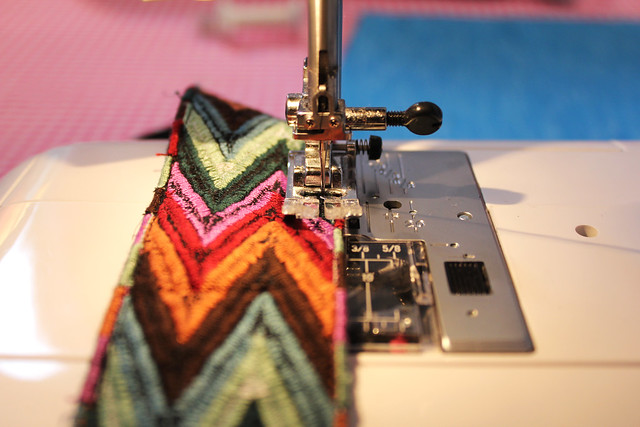
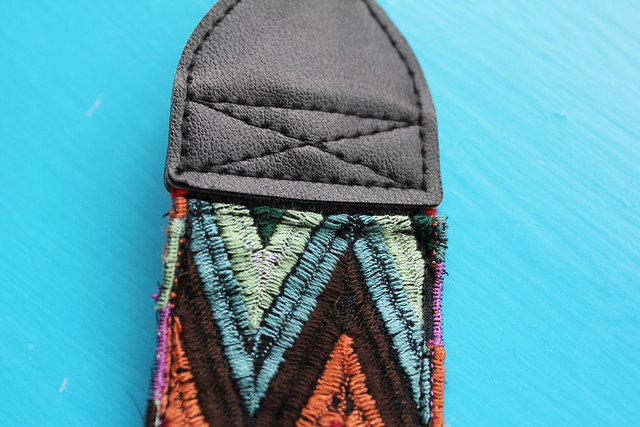
Since I currently don't have a sewing machine, I first thought of placing the trimming with fabric glue. Though that would have been a good option, the sound and feel of a sewing machine beckoned and I found myself at Sew Over It using one of their machines for just £5 an hour. I had removed the Canon trimming before arriving at the studio so all I had to do was fold over the top edge of the new piece, sew that down, and then sew along each side. The trick is to find trimming that matches the width of the existing strap so that you don't have to worry about folding the sides in or bulging the fabric.
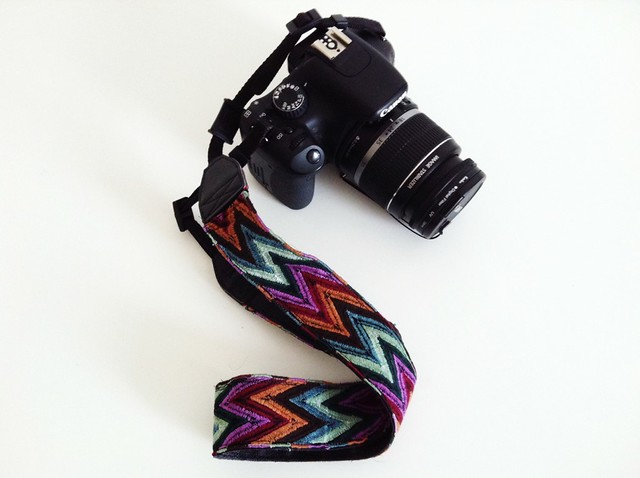
I'm so happy with the results and love the idea of changing the trimming every so often. Also, this project made me realize that I can't go too long without a sewing machine...it's just a matter of time before I buy one of my own.

