oh and check this out!

DIY calling cards (created for Travelettes) My first guest-post for a blog was published yesterday! I was really excited when the ladies from Travelettes asked me to create a project for their new Sunday DIY feature. I took inspiration for the calling cards from one of my fave's, Pugly Pixel, and I love how they turned out - simple and effective. Check out the full post + photos here.

A BIG thanks to Travelettes for inviting me to join the fun!

{diy} frame that fancy paper

{diy} frame that fancy paperworkspace

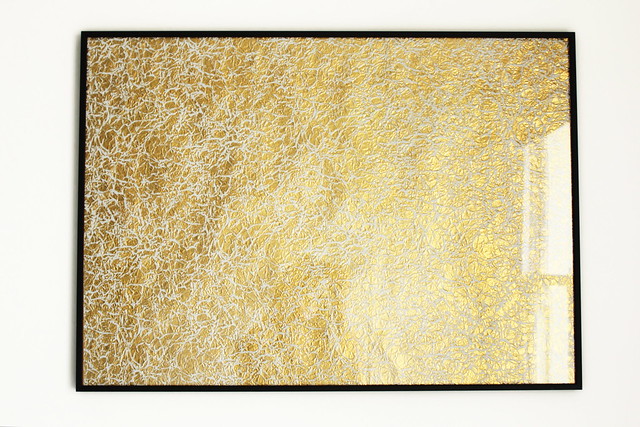
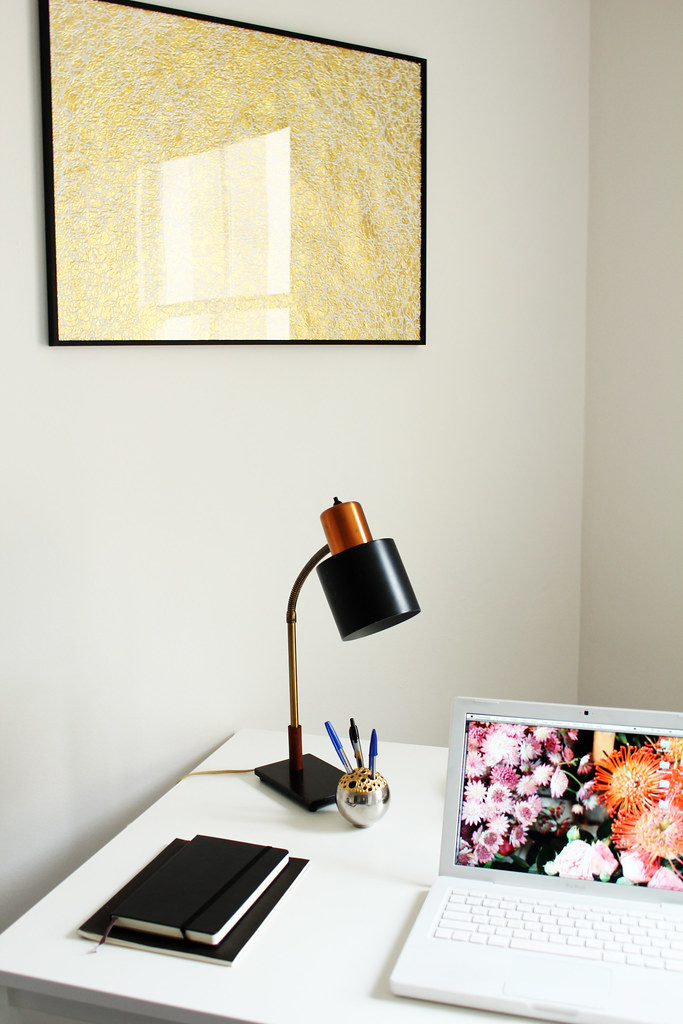
Remember when I complained about the lack of sunshine in London? Shortly after I decided to take control and bring the golden rays into my workspace. I had always wanted to frame paper so this was the perfect opportunity to do it - finally, something to make with all of those beautiful sheets of paper from the stationary store!

I opted for a gold, shiny (and I admit, a bit gaudy) paper from Paperchase and paired it with a black metal frame from Habitat. I love the bright glow that reflects from the opposing window, even on the greyest of days. Mission totally accomplished. What I love even more is that I can change the paper in an instant and always have a fresh piece of art. With pretty paper costing less than five pounds I'm definitely tempted to swap often but I think I'll keep the golden glow for a while.

p.s. a big shout out to my vintage desk lamp! i loooovvvee yoooouuuu.

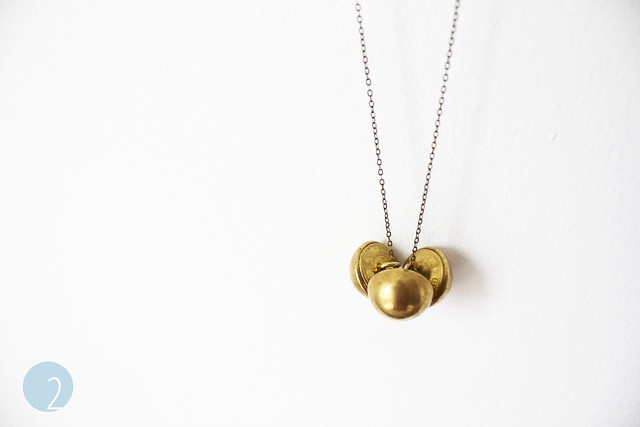
{diy} vintage brass buttons = new necklace

vintage buttons necklace DIYvintage buttons necklace DIY vintage buttons necklace DIY vintage buttons necklace DIY vintage buttons necklace DIY

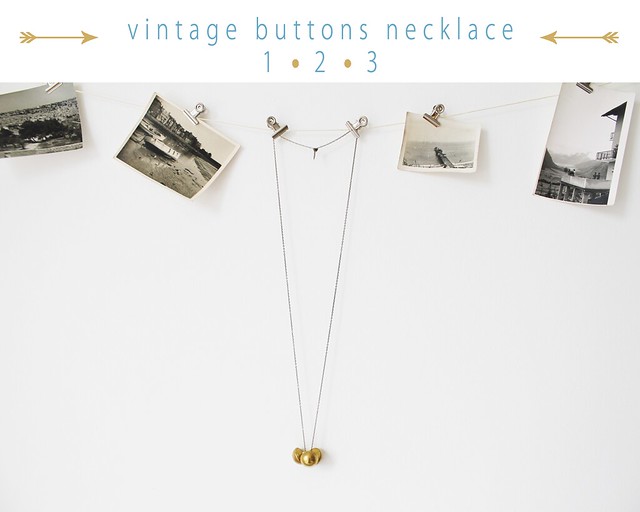
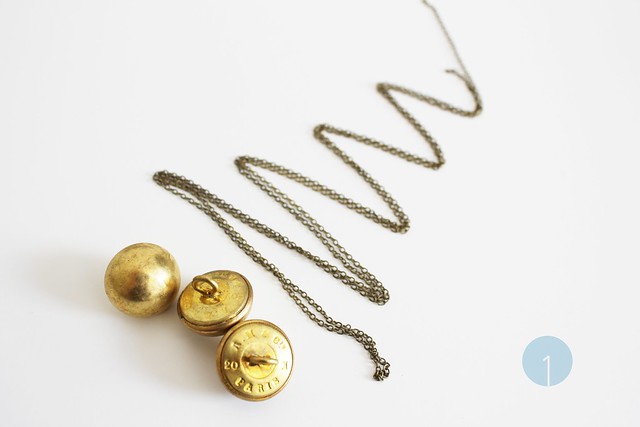
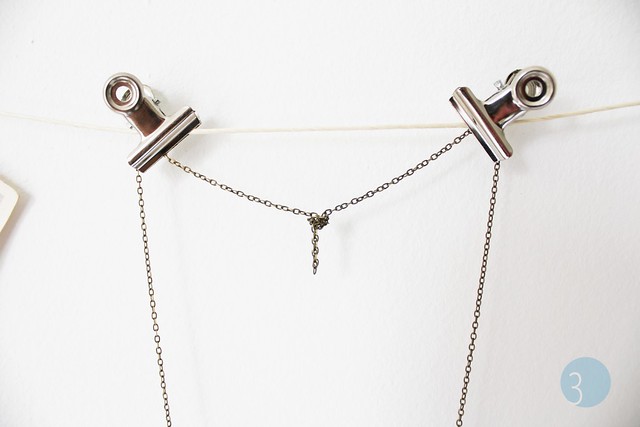
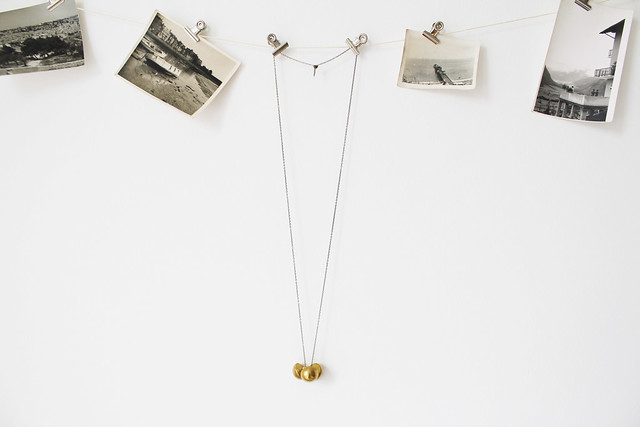
Remember the vintage buttons I found at the Sunbury Antiques Market? Well, I finally made the simple necklace I had envisioned and it's already one of my favorite go-to's.

The great thing about making long length necklaces is that you can simply tie the chain in a knot and not deal with clasps and jump rings (the little round connector pieces). This was such a quick and easy DIY, I'll definitely be shopping for more vintage buttons!

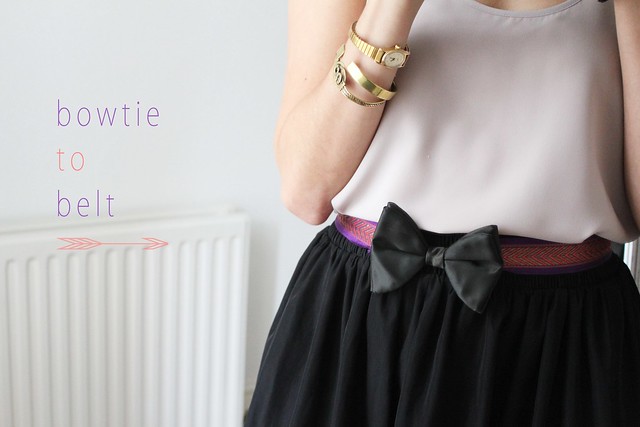
{diy) boy meets girl...mens bowtie belt

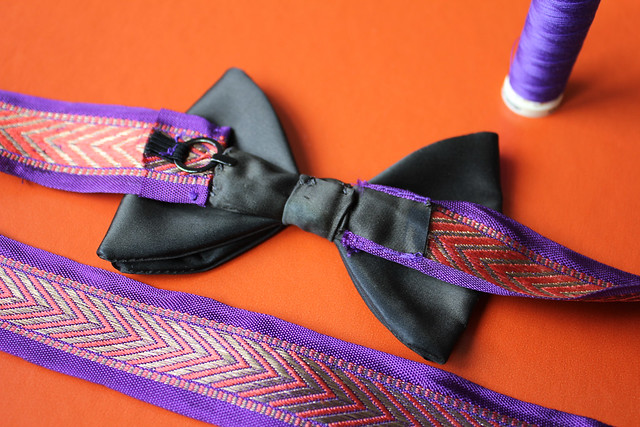
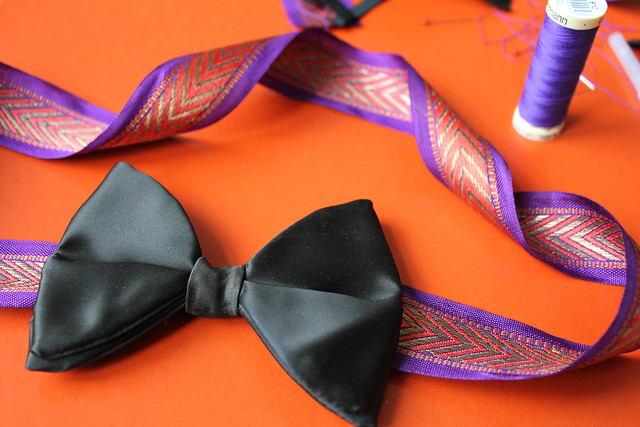
{diy) boy meets girl...mens bowtie belt{diy) boy meets girl...mens bowtie belt{diy) boy meets girl...mens bowtie belt {diy) boy meets girl...mens bowtie belt {diy) boy meets girl...mens bowtie belt {diy) boy meets girl...mens bowtie belt {diy) boy meets girl...mens bowtie belt

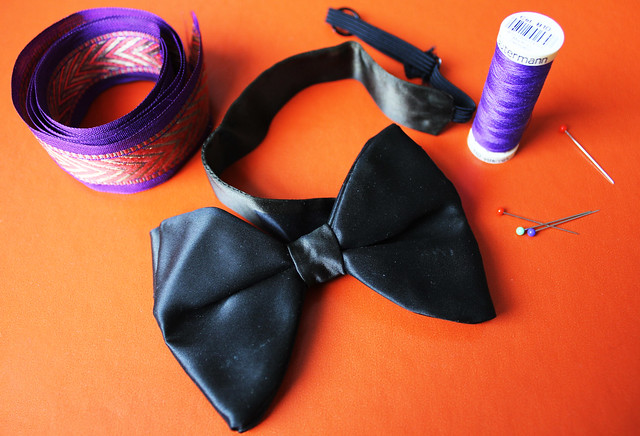
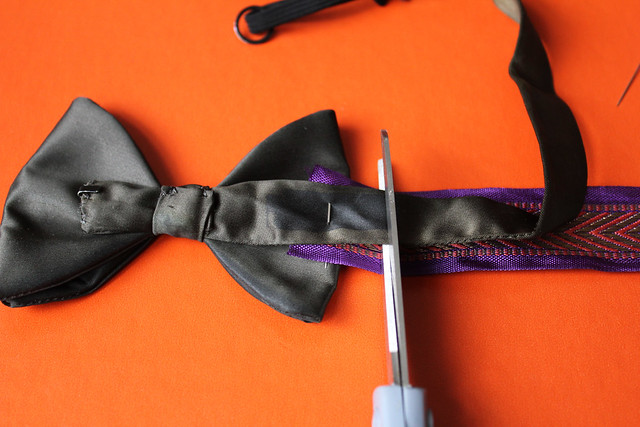
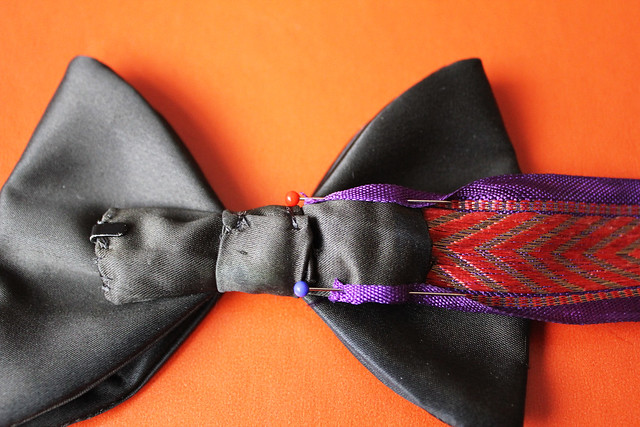
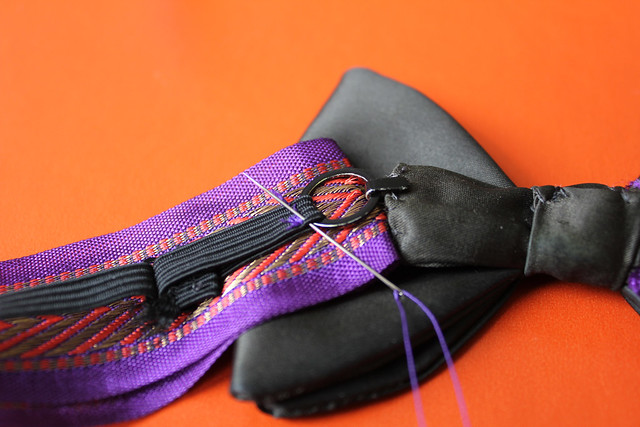
I finally got crafty with a vintage bowtie I bought at Camden Market a few months ago. I was sifting through vintage neckties and thinking of what I could make with them when this simple black bowtie popped right out and told me what to do.

Surely you can tie a bow out of anything to make a belt but I love the fullness, weight, and perfection of a mens bowtie. Especially when paired with a pretty ribbon.

I'm really happy with the way that it turned out but for the next round I think I'll try a few modifications: use a more stretch-friendly ribbon (so woven threads don't break) and find a way to make it fully adjustable to wear either on my waist or hips. A girl needs options, right?

Let me know if you make your own or get inspired to create something else with a mens bowtie...there are so many possibilities!

{diy} customized camera strap - in a flash!

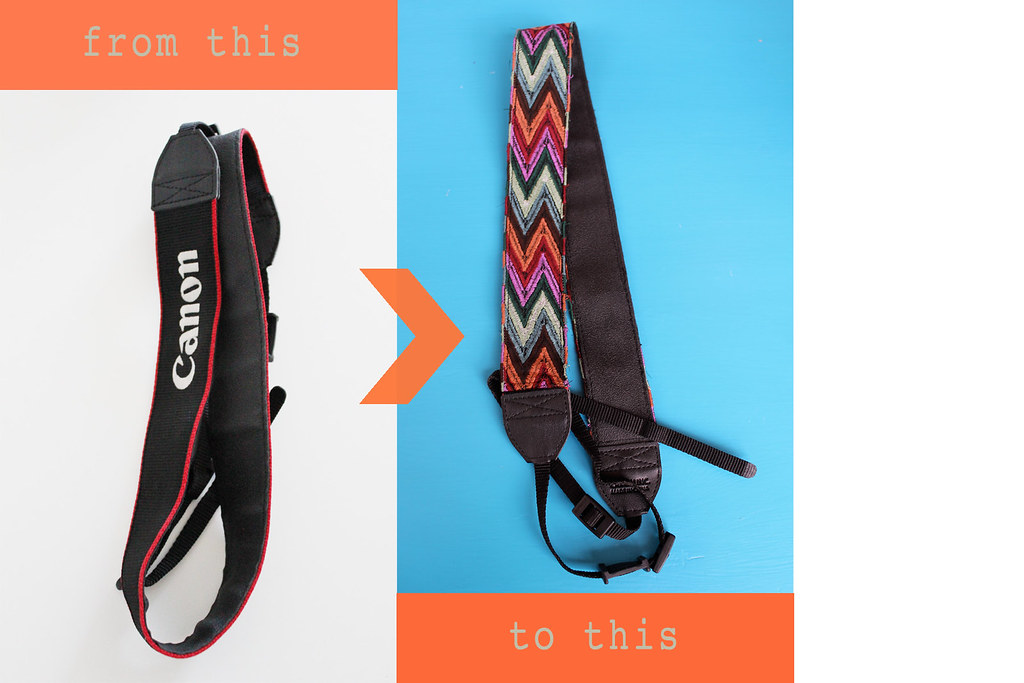
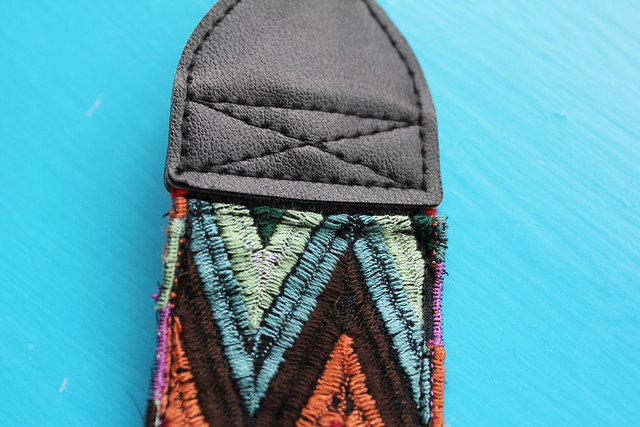
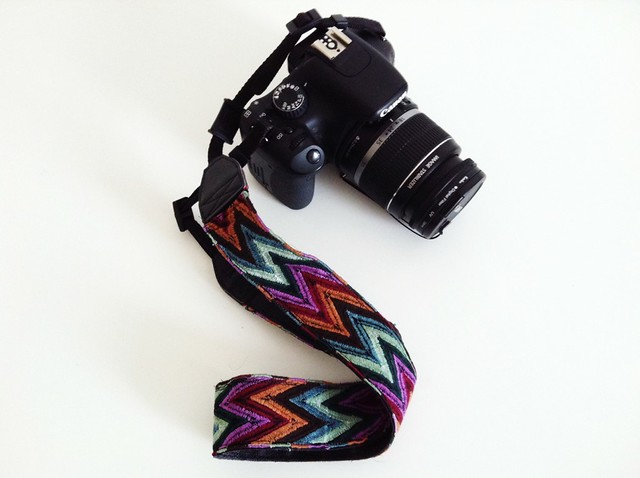
{diy} customized camera strap - in a flash! {diy} customized camera strap - in a flash! {diy} customized camera strap - in a flash! {diy} customized camera strap - in a flash!

I bought this camera strap online but was not happy with it once it arrived. It was too wide and slippery for me and I missed the grip of the original Canon strap.

So, noticing that the "Canon" ribbon was simply sewn on, I decided to take it off and stitch on my own trimming. It was very simple to do. I think I spent more time deciding on the trimming pattern than actually putting it all together!

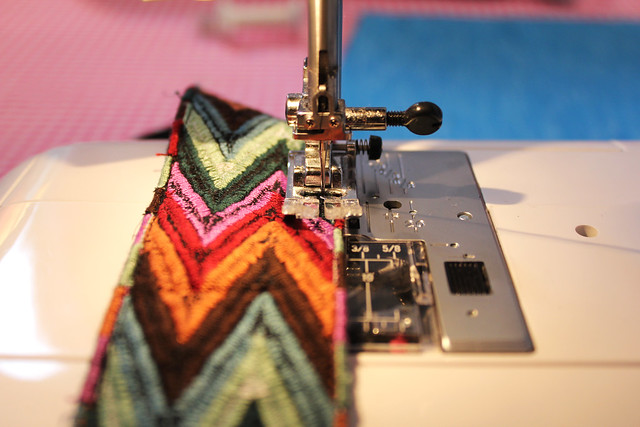
Since I currently don't have a sewing machine, I first thought of placing the trimming with fabric glue. Though that would have been a good option, the sound and feel of a sewing machine beckoned and I found myself at Sew Over It using one of their machines for just £5 an hour. I had removed the Canon trimming before arriving at the studio so all I had to do was fold over the top edge of the new piece, sew that down, and then sew along each side. The trick is to find trimming that matches the width of the existing strap so that you don't have to worry about folding the sides in or bulging the fabric.

I'm so happy with the results and love the idea of changing the trimming every so often. Also, this project made me realize that I can't go too long without a sewing machine...it's just a matter of time before I buy one of my own.

{diy} soap making @ the make lounge

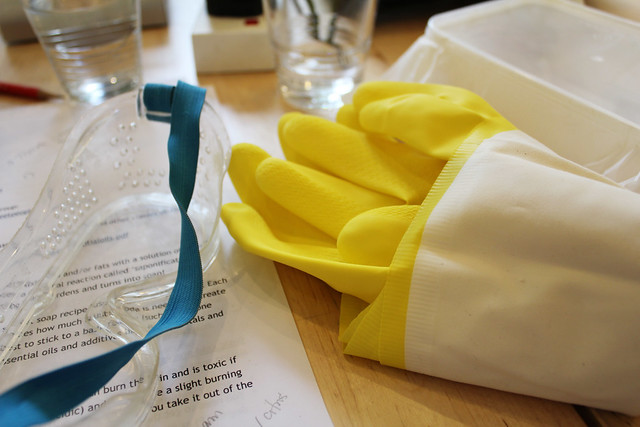
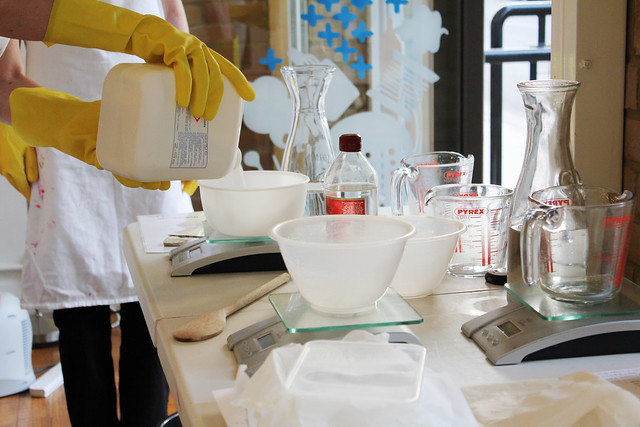
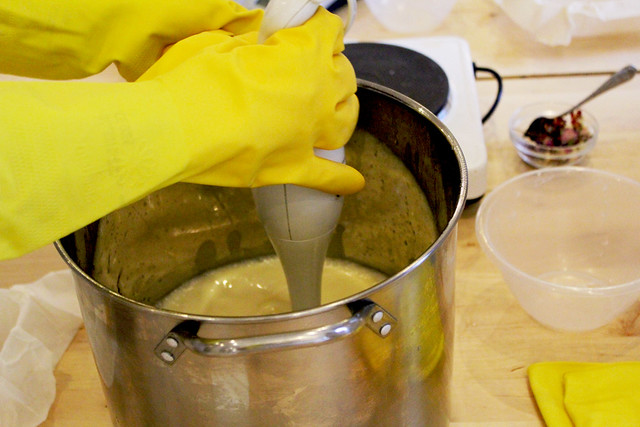
{diy} soap making @ the make lounge{diy} soap making @ the make lounge {diy} soap making @ the make lounge {diy} soap making @ the make lounge {diy} soap making @ the make lounge {diy} soap making @ the make lounge {diy} soap making @ the make lounge

My favorite soap in the world is from an independent shop in my home-town, Pasadena, called The Soap Kitchen. Made in small batches in an on-site kitchen, the shop is full of beautifully scented and textured soaps that are made from only the best natural ingredients (I absolutely LOVE the lavender oatmeal with shea butter bar!). These soaps literally became all I would use and the thought of being in London without them made me really sad. Like, really.

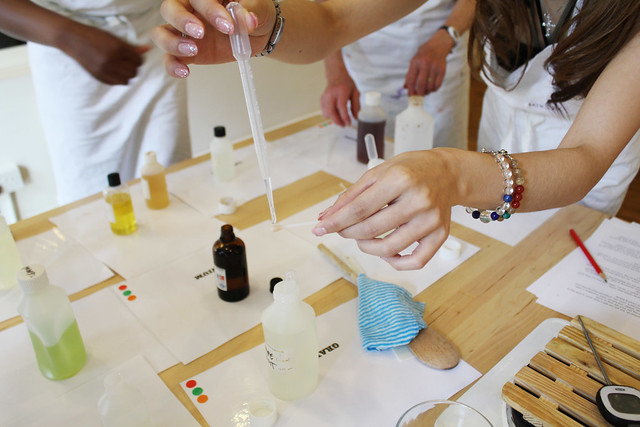
Luckily, soon after moving here I learned about The Make Lounge, a maker's paradise that offers creative workshops - including soap making! If I couldn't buy my natural soaps from The Soap Kitchen, then I could at least try to make my own, right?

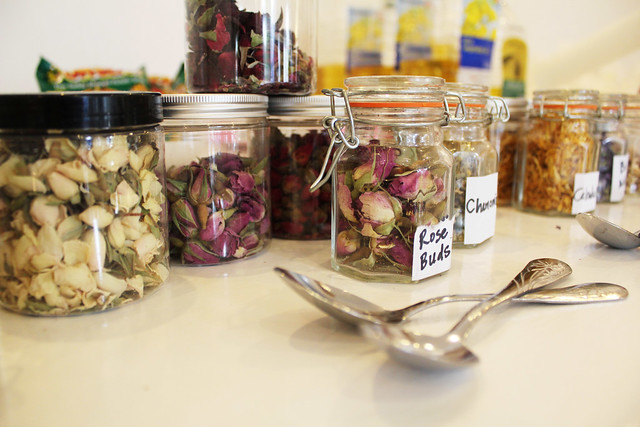
This DIY turned out to be more of a group effort due to processing time and allotted space but no one seemed to mind. We had to agree on what types of essential oils we wanted to use since we all had different scent preferences but after that it was smooth sailing with turns on the heat pad, stirring, mixing, and pouring. I'm purposefully leaving major details out because I honestly don't remember the ingredients and chemical processes (sorry, I should have saved the handout!).

Long story short, it was a totally new type of "making" for me and though it was really fun and interesting to learn, I realized that I may be more of a simple crafter than a mad scientist. That being said, I can't wait to go back to The Make Lounge to try some other workshops like paper cutting art, book binding, and screen printing - I have a feeling those will be more my style.

Besides, I found some great natural soaps from a vendor in Camden Market that can give me my homemade soap fix :)
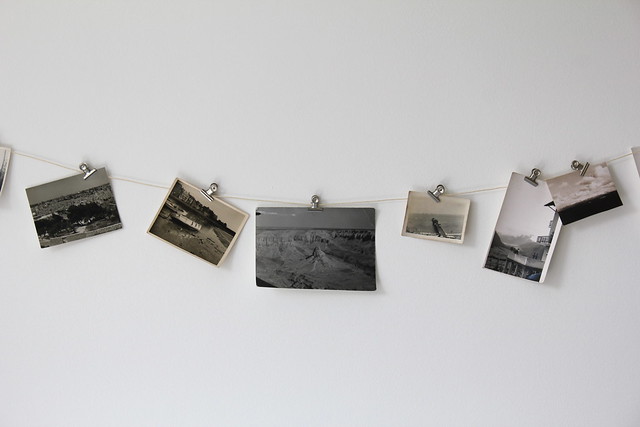
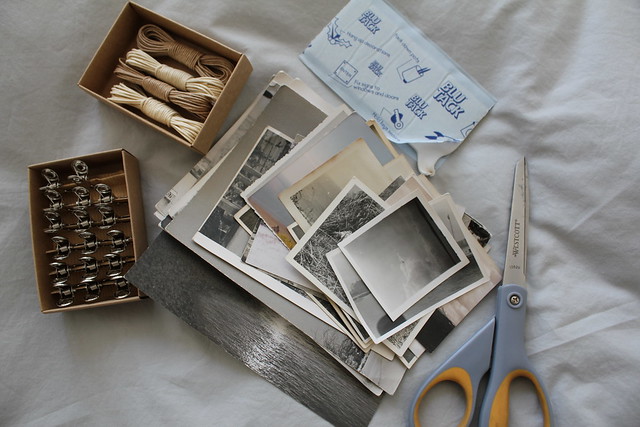
{diy} five minute wall decor

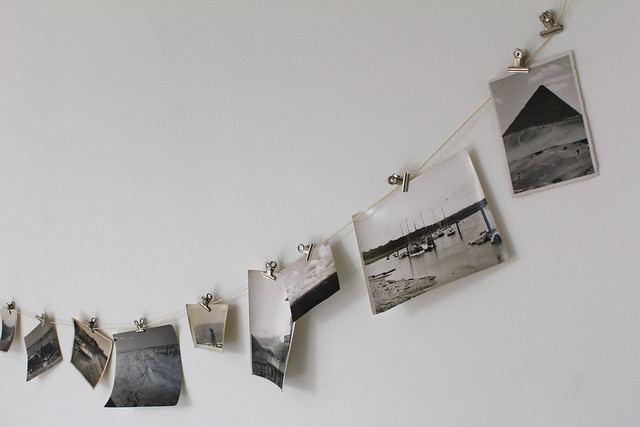
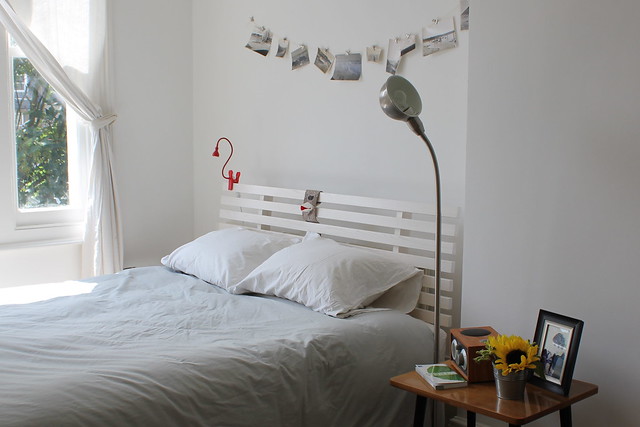
When you're not really allowed to put anything on the walls (stupid landlord) blu tack, string, and clips come in really handy. I wanted to make use of the vintage photos I bought a few weeks ago and thought this might be the best way in the meantime.
While  it's probably something I would have done in my college dorm room, I like to think that the vintage photos mature the whole look up a bit. Oh who am I kidding, we have a sock monkey on our headboard. His name is Earl.

{diy} will craft for moms

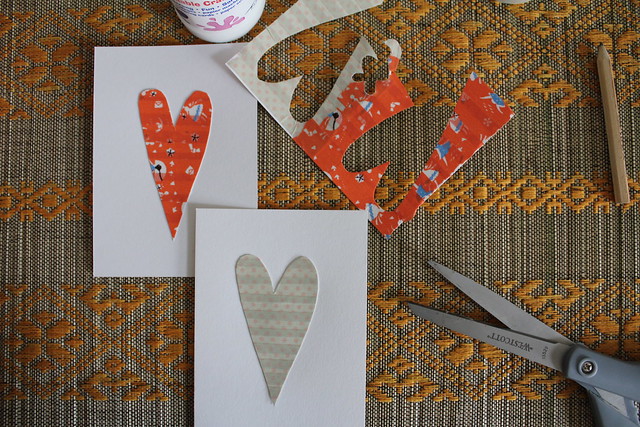
home-made mother's day cards!home-made mother's day cards! home-made mother's day cards! home-made mother's day cards!Since I couldn't be with the two moms that I love the most for Mother's Day (my mama and sister), I thought I'd send them something from the heart.

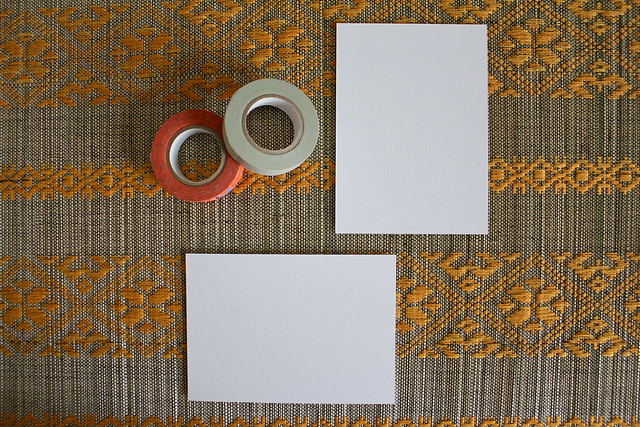
Taking inspiration from this DIY post by Creature Comforts, I decided to play with decorative masking tapes for the first time.  For the goods I went to Paper Chase - the craft store in London. It was love at first sight as I walked around the aisles imagining all of the fun to be had.

Once home I got straight to business taping, cutting, and pasting away. The project was super fast and easy and a great way to get my crafting fingers back to work.

With a hand-written note on the back, these little cards were a perfectly simple way to say "Happy Mother's Day" and of course, "I Love You".

Any other crafters out there make something for Mother's Day?

xoxo

crafty bug bites

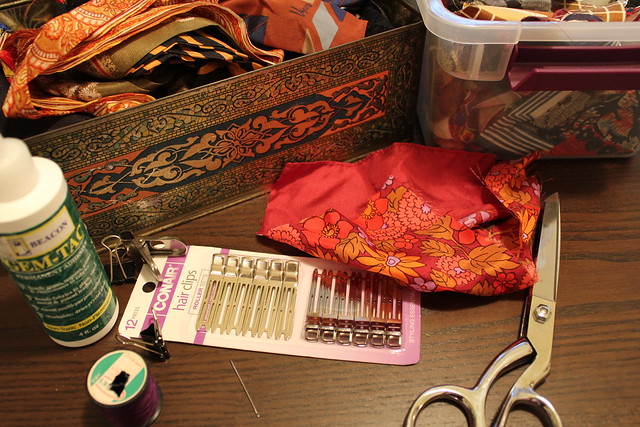
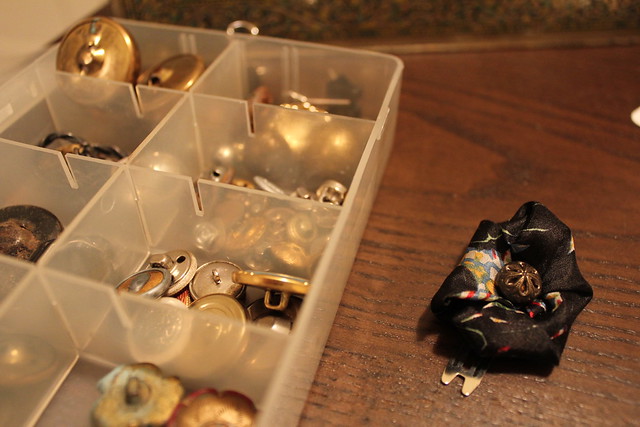
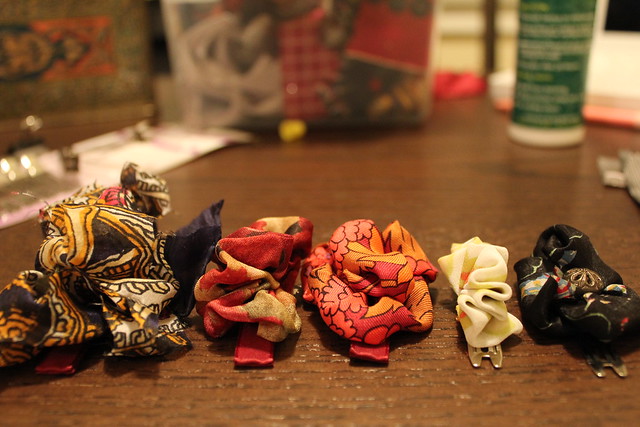
Taking out all of my Anamu accessories for the moving sale really made me crave being crafty. And since I'd been meaning to make hair clips for my nieces this was the perfect opportunity to go for it! I bought some clips from the drug store and used scarf scraps to make the "bows" (or fabric blobs if we're being honest). One of them was even given a little extra pizazz with a small vintage button from my collection.

The clips are a bit funky but my sister and I love how they turned out. Can't wait to see little Juliana and Isabella wearing them!